

Hello lovelies! Some of you might know that I used to teach book binding workshop in Singapore and I do sell customised hand stitch journals too. And many have asked me to share tutorials or make video on how to do boon binding. I have been wanting to make video tutorials but I chicken out. Don't laugh! I have tried and working in front of the lens made me feel silly, I just couldn't work as per my normal workflow. So yeah, I will try making video again. But just not now! Be patience with me ok?
Ao here'a a photo-heavy post that has step-by-step tutorial on how I DIY Peerless Watercolor palette inspired by Jane Devenport. I followed most of her steps and her concepts in making the palette which has a piece of acetate sandwich in the centre, which is such an awesome + brilliant idea!

Are you ready for a photo-heavy post? Here you go!
P.S. I didn't really plan the palette book, so I just pull out tools and supplies as I go.
To make a simple palette, you would need:
1. Peerless Watercolor (I got the bonus set which has 40 colours in 2x2 sheet each from Studio Calico)
2. 300gsm water-colour papering A4 size (according to Jane's video, you need to have thick water-colour paper)
3. Paper trimmer
4. Washi tapes
5. Tape glue / Adhesive
6. A piece ofA4 sized acetate

Firstly, I trimmed the Peerless colour sheet into 0.5 inch strips and arrange the colour accordingly. This bonus pack has a lot of pink, red, orange and yellow! I need black here!

Such gorgeous rainbow colours, aren't they?

P.s. There is a step I forgot to photograph here. I layered the acetate on top of the watercolor paper with textured side up and fold both into half (so it is A5 sized now). Then I machine stitched the middle (using the crease as guideline) with my sewing machine.
Another alternative way to do this by following Jane's tutorial:
1. Fold the water-colour paper into half
2. Cut the acetate sheet into A5 size
3. Tape the acetate to the crease using washi tapes.
The acetate could be use as a paint palette and also to protect the colours from rubbing against each other when we close the palette.
Then I apply tape glue to the back of the strips and arrange them into 4 rows of rainbows, So each row souls have 10 colours.


I leave some space in between each colour sheet and do a simple swatch. I think this is really important as you notice, the pigmented / concentrated colour sheets look very different from the actual colour, so you would need to do a swatch next to it.


Then I decided I should make my palette into a book with fabric cover. So I dug out some of my muslin fabric and 2 pieces of A5 sized chipboards.

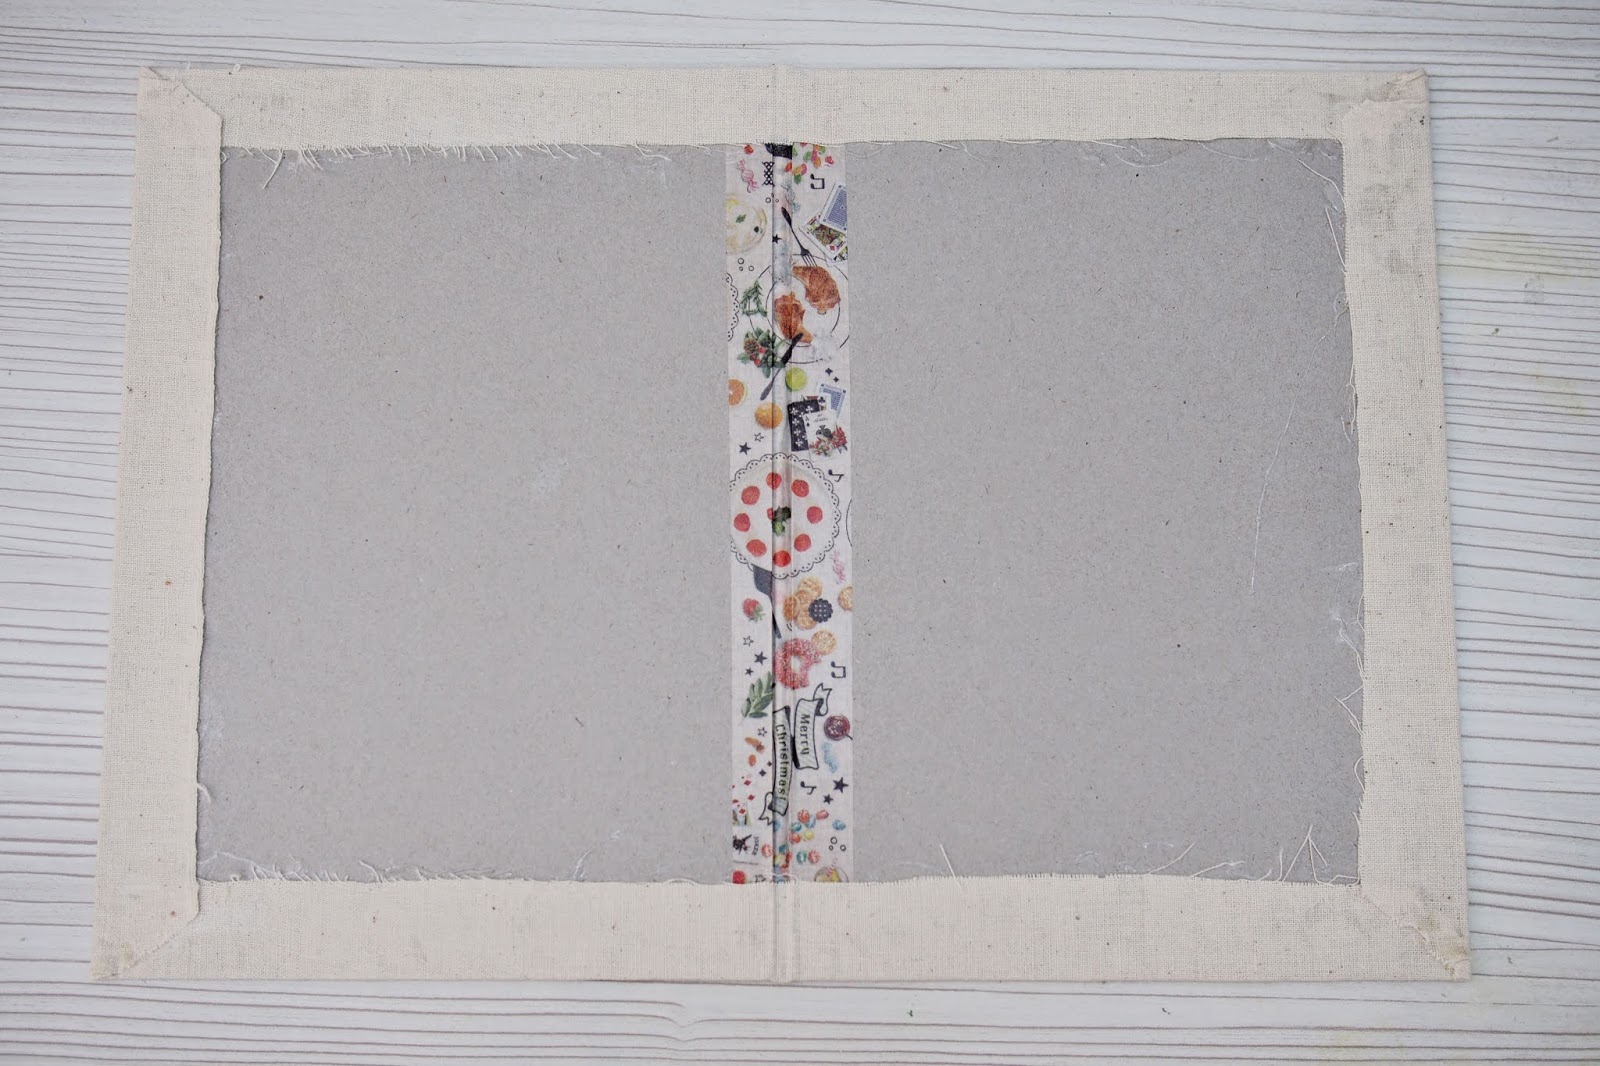
Before wrapping the cover with fabric, you need to make sure you leave a tiny gap in between the 2 pieces of chipboard so that the book cover could close perfectly.


To do that, I stack the sandwich in this sequence: chipboard - water-colour palette - chipboard. Then I tape the adage down with washi tapes. You could also use duct take of scotch tape. Not a must to use fancy MT tape like me since you can't see it once the book is done.


Remove the paper palette when you are done and the inside of the cover should look like this, with a tiny gap.

I cover the gap with another piece of washi tape.

Then we have to wrap the muslin fabric to the chipboard cover. I leave margin about 1 inch on each side and trim the four corners as pictured.

I used liquid adhesive (Beacon 3-in-1 or PVA glue) to glue the muslin fabric to the chipboard and wallpaper smoother to smoothen it. You can use bonefolder too!


Remember to trim the 4 corners like this so you would not end up with bulky corners.

Then I started glue-ing the long sides and proceed to glue-ing the short sides.


I folder the edges / corners in so that I look neater and hammer it to flatten it.

Then now its the fun part. I decided to add book corners, an iron-on patch (COMMES de GARCONS inspired heart that my cousin-in-law got for me from Taiwan) and also a Moleskin inspired elastic band. We need some heavy duty tools here : hammer, Big Bitez (or you would need metal hole punch and eyelet opener)

I marked where I would like to place eyelets to secure my elastic band. It is approximately 1inch from the edge. If you are too lazy to fix the elastic band with eyelets, you can follow the video tutorial by Sea Lemon by glue-ing it down with hot glue. I prefer the method of using eyelets because it is more secure this way.

The outside of the back cover should look like this. Do a test-run to close the elastic band to see if it is too loose / too tight before fixing the eyelets.

Inside of the back cover before fixing the eyelets. It's okay if this part isn't too pretty as it will be cover up later on.


Fixing the eyelets with BigBitez.

Or using the old school method (which I prefer) - hammer and eyelet opener.

Then I decided to make pen loops for my palette book too. And I have went overboard to make 4 pen loops! I cut 4 pieces of elastic bands, each measures approximately 3 inches. You can definitely make only one pen loop with thicker / wider elastic band.

Fold the elastic bands into half and glue them.

Before I stitch the pen loops with my sewing machine, I adhere them with liquid adhesive.


The more pen loops, the merrier!

And now we are almost done!
Start glue-ing both sides of the paper palette to the cover. I applied a lot of liquid adhesive, especially around the edge.

Elastic band closure done, pen loops done! So now we gotta decorate the cover a little.

I know it is supposed to be an iron-on patch, I was too lazy to heat up my iron, so i heat up the adhesive with heat gun and press the iron on down. It works perfectly!

To give my palette book a more polished look, I added book corners too!


And after an hour of gathering supplies and working on the book, we are done! I simply love how cute it turn out!


With this palette book, I am sure I would use my Peerless watercolors more because it is really handy and it gives me an overview of what colour I have. I do not have to spread the colour sheets all over the desk anymore!

I also got asked a lot on instagram on what brushes do I use when I do watercoloring on my stamped image. I always use Waterbrush from Kuretake which I have them in all three sizes: Fine (yellow), Medium (Green) and Large (purple). I use the yellow one the most and I hardly load it up with water, I just like to use it as paintbrush and still dip it into my jar of water. The blue water brush comes with my Faber Castel Gelato gift set which I have yet to use.

See why I need more than one pen loops? ;)

Thanks for looking!
XoXo,

Hi Sam! I have enjoyed with your tutorial ♥ Thank you for share!! (^ ^)
ReplyDeleteThe book is awesome!
ReplyDeleteYour book is awesome..I love it very much..Thanks for sharing it..
ReplyDeleteBook Printing in China
This is such a great tutorial! I am already planning my trip to the craft store to get everything I need to make this! Thanks so much for taking the time to take the photos and write and post this tutorial! I really appreciate it. :) (www.sweetandinky.com) I am also sweetandinky on Instagram. :)
ReplyDeleteI love it!!!!!!!
ReplyDeleteThis looks amazing! I would absolutely love to organise mine like this but I don't have the patience to make the book haha.
ReplyDeleteWow I'm so impressed!
ReplyDeleteWhere did you get your peerless water colors from?? It's so hard to find in Singapore :(
ReplyDeleteAn excellent tutorial on how to make the swatch book. Many thanks for the great ideas.
ReplyDelete