

Hello everyone! This blog post should be up yesterday but something came up so I could only post it up today. I hope this post would inspire you or at least give you some ideas to make use of your Cocoa Daisy goodies and art supplies to personalise your own planner(s).This is a photo-heavy post with plenty of planner DIY ideas - from making your own paper clips to stickers. So do sit back and grab a cuppa while scrolling thru this post.
1. Stamping on the good ol' Post It's
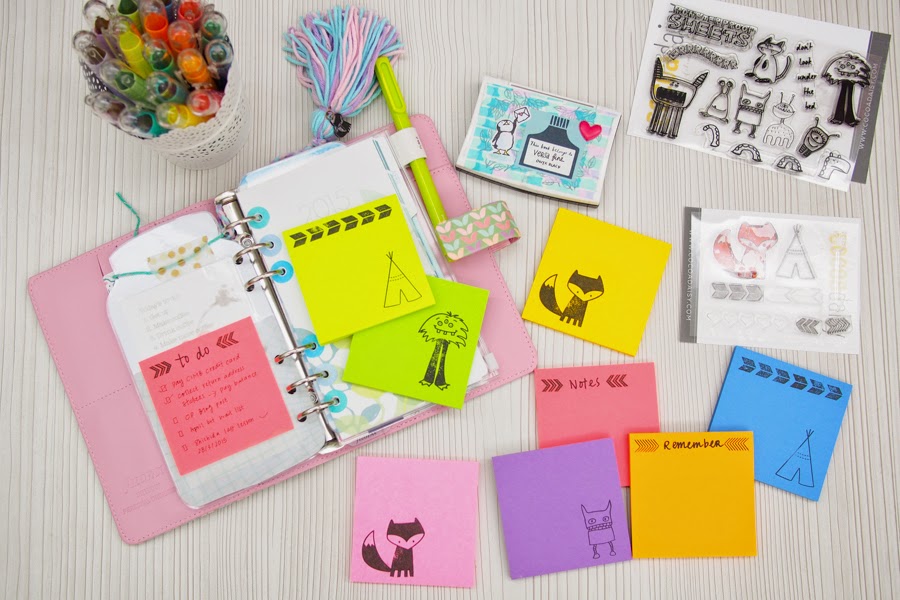
The regular post it's are boring but their adhesive is way better than the cutesy one that your could get from Target or Daiso (p.s. those are so cute but they never stick / repositionable).

I use the Get Foxy and the Under The Bed Stamp set to prettify the post-its. Even my 2-year-old is obsessed with these monster stamps and keeps asking me to stamp these on his arms.
2. Make your own stickers

Okay, this is no-brainer. All you need to do is to stamp on a piece of sticker paper (you can get them from Amazon or any office supply store) and cut them out. I like to stamp a bunch of these stickers using my favourite stamp sets and cut them out whenever i have free time or watching YouTube. I keep a bunch of these in a zipper pouch in my planner.

I also likes to colour the white reinforcement stickers and small label stickers using Copic Markers. Of course you can colour the stickers with highlighter markers, distress markers or even water colour.

Just in case you are wondering, I am using these white reinforcement ring stickers and small label stickers from Daiso - I love love love them as they are repositionable / removable.

This is how the stickers look like in my blank planner pages.

3. DIY Paper Clips

I love these two stamp sets a lot. So I stamped the fox and monster on a piece of white cardstock, and fussy cut the stamp images. You can certainely glue the paper clips to back of the cut image using liquid glue / hot melt glue (I use Helmar 450 Quick Dry glue and they work really well). To make the paper clips sturdier, I laminated the cut image with hot laminator before gluing the paper clips.


The paper clips are so cute in the front pockets of my planners. >_<
4. Cute Planner Tassels for Your Planner(s)

I didn't get the the craze of hanging a huge tassel on my planner as they are bulky and don't look practical at all. My bestie wanted a tassel (in unicorn colour) for her planner. So I googled tutorial on how to make a tassel and found this tutorial super useful.

To make the tassels even cuter, I stamp the foxy stamp on a piece of shrink plastic. If you need a tutorial on how to stamp on shrink plastic, I had a blogpost here. You can also make the shrinkies into cute pen charms / planner charm. I have even more DIY planner decoration ideas for you in the future blog post. So stay tuned, planner girls!
Xoxo,
Sam
So many good ideas!
ReplyDeleteWhere do you buy the reinforcements and labels from?
ReplyDelete(: thank you!
i really love ur planner! May i know its brand name please :)
ReplyDelete