
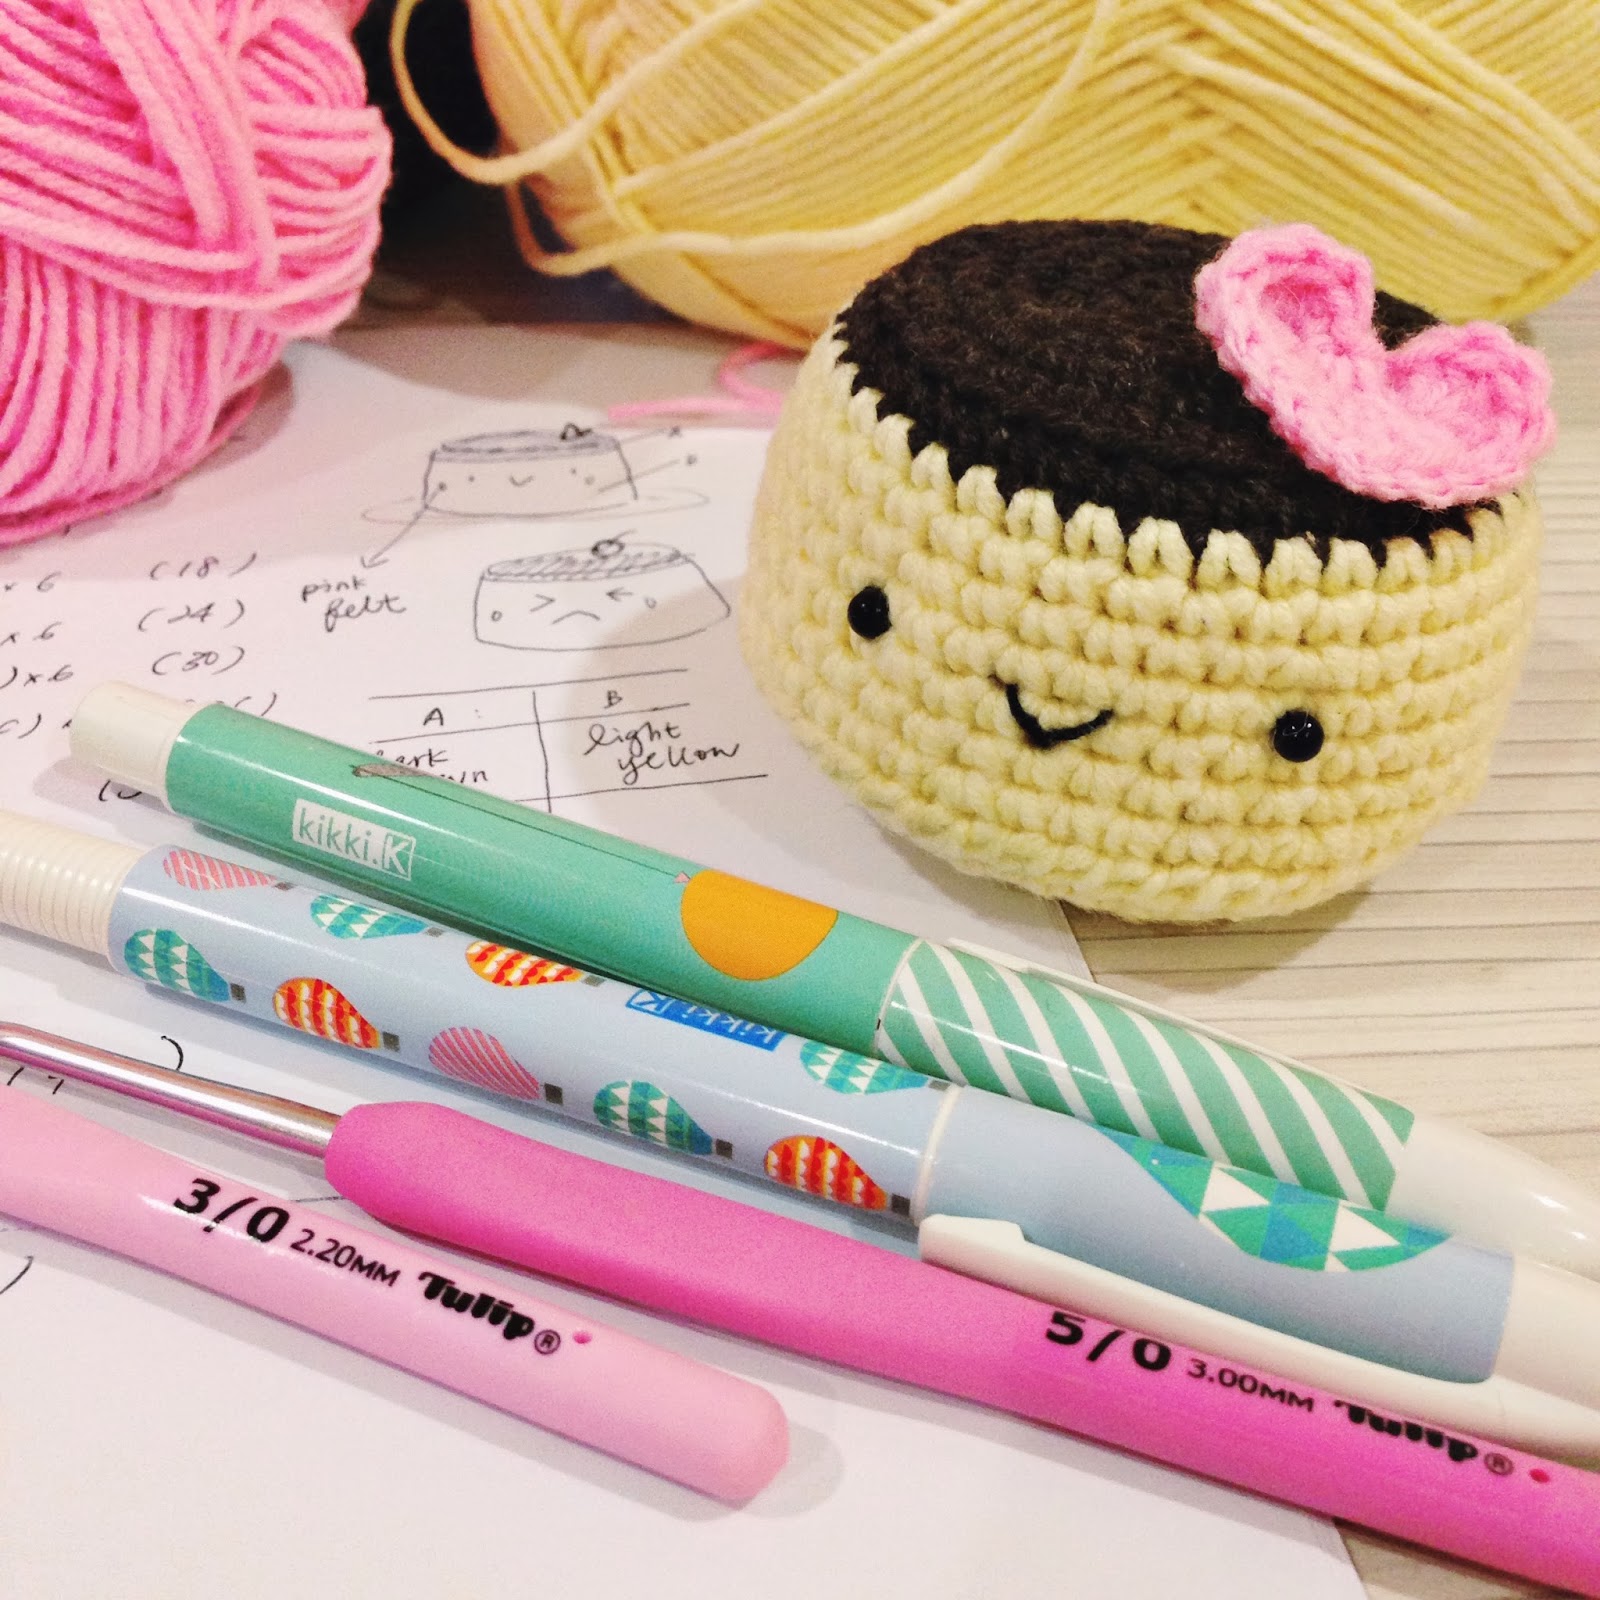
Hello all, remember I was writing amigurumi crochet pattern for this cute little pudding 3 weeks ago? It took me a few days + trials just to get things right. Just because it's been a while since I wrote crochet pattern. I have caught the crochet bug again recently and have been making amigurumi + have been really blessed to have conducted a few amigurumi workshops. Thanks to all the girls who have attended my workshop and so glad to get you all HOOKED too! I know some of the girls even ditch scrapping and went for full-time crocheting. LOL.
I don't have a pattern tester, so I keep making the same puddings again and again (with different flavours, Yum!) to make sure I get things right. So there you go! I have made a blueberry pudding, creme brûlée and a strawberry pudding. Strawberry has the cutest expression I would say ;)

And let's start making pudding ;)
Materials:
- Acrylic and cotton yarn (both are perfect for making amigurumis) - In at least two colours, light purple and cream, brown and light yellow, pale pink and cream etc. You can use any combination to make different flavours for your pudding
- Stuff of your choice (I normally prefer polyfill) You could use poly-pellets to weigh it down and use it as pin cushion or paper weight too
- One pair of black beads / plastic eyes (size of your choice)
- Black embroidery floss for stitching the eye & smiley face, a tiny bit of pink yarn as blusher
Tools:
- Crochet hook size E (or any crochet hooks suitable for the yarn you use)
- Tapestry needle & Sewing needle for yarn
Abbreviation:
R = Round
ch = chain
sc = single crochet
dc = double crochet
st = stitch
inc = increase (2sc in a stitch)
dec = decrease (2sc off together)
sl st = slip stitch(es)
* = repeat directions between * and * as many as indicated
() = number of stitches in each round
NOTES:
1) Work in continuous spiral round; do not join rounds unless otherwise stated. Mark first stitch of each round.
2) To change color, work last st of old color to last yarn over. Yarn over with new color and draw through all loops on hook to complete st.
Pudding (Top)
Start with dark brown colour (colour of the top of the pudding); make adjustable ring / magic ring
R1: Magic ring, sc 8 in a circle (8)
R2: *inc 1*, repeat 8 times (16)
R3: *sc 1, inc 1*, repeat 8 times (24)
R4: *sc 3, inc 1*, repeat 6 times (30)
R5: *sc 4, inc 1*, repeat 6 times (36)
R6: 1sc back loop only in each stitch (36)
Change to light yellow colour R7 - R8: 1 sc in each stitch (36)
R9: *5sc, inc 1*, repeat 6 times (42)
R10 - R12: 1 sc in each stitch (42)
R13: *6sc, inc 1*, repeat 6 times (48)
Fasten off & leave a long tail for sewing.
Pudding (Base)
Start with light yellow colour; make adjustable ring / magic ring
R1: Magic ring, sc 8 in a circle (8)
R2: *inc 1*, repeat 8 times (16)
R3: *sc 1, inc 1*, repeat 8 times (24)
R4: *sc 3, inc 1*, repeat 6 times (30)
R5: *sc 4, inc 1*, repeat 6 times (36)
R6: *sc 5, inc 1*, repeat 6 times (42)
R7: *sc 6, inc 1*, repeat 6 times (48)
Just in case you would prefer to crochet-along with some photo tutorials:

R1: Start with the yarn (top of pudding), Magic ring, 8sc

R2: inc in every SC. remember to put your stitch marker at your first stitch of Round 2

R3: SC in first stitch, then inc in the next stitch, repeat 8 times.

This picture is showing you to pull yarn over both loops. When pattern does not indicate, we normally pull yarn over BOTH loops (as pictured) in making amigurumi

R6: SC in each stitch, but only pull yarn over back loop only

Once you are done with R6, it should look like this, with a circle line
And now you have to change colour to the colour of the pudding base. place the hook inside the two bunny ears (as pictured)

Before you complete the last SC of R6, change to new colour and pull yarn over the two bunny ears. Continue to crochet by following the pattern:
R7: SC all around (remember its both loops!)
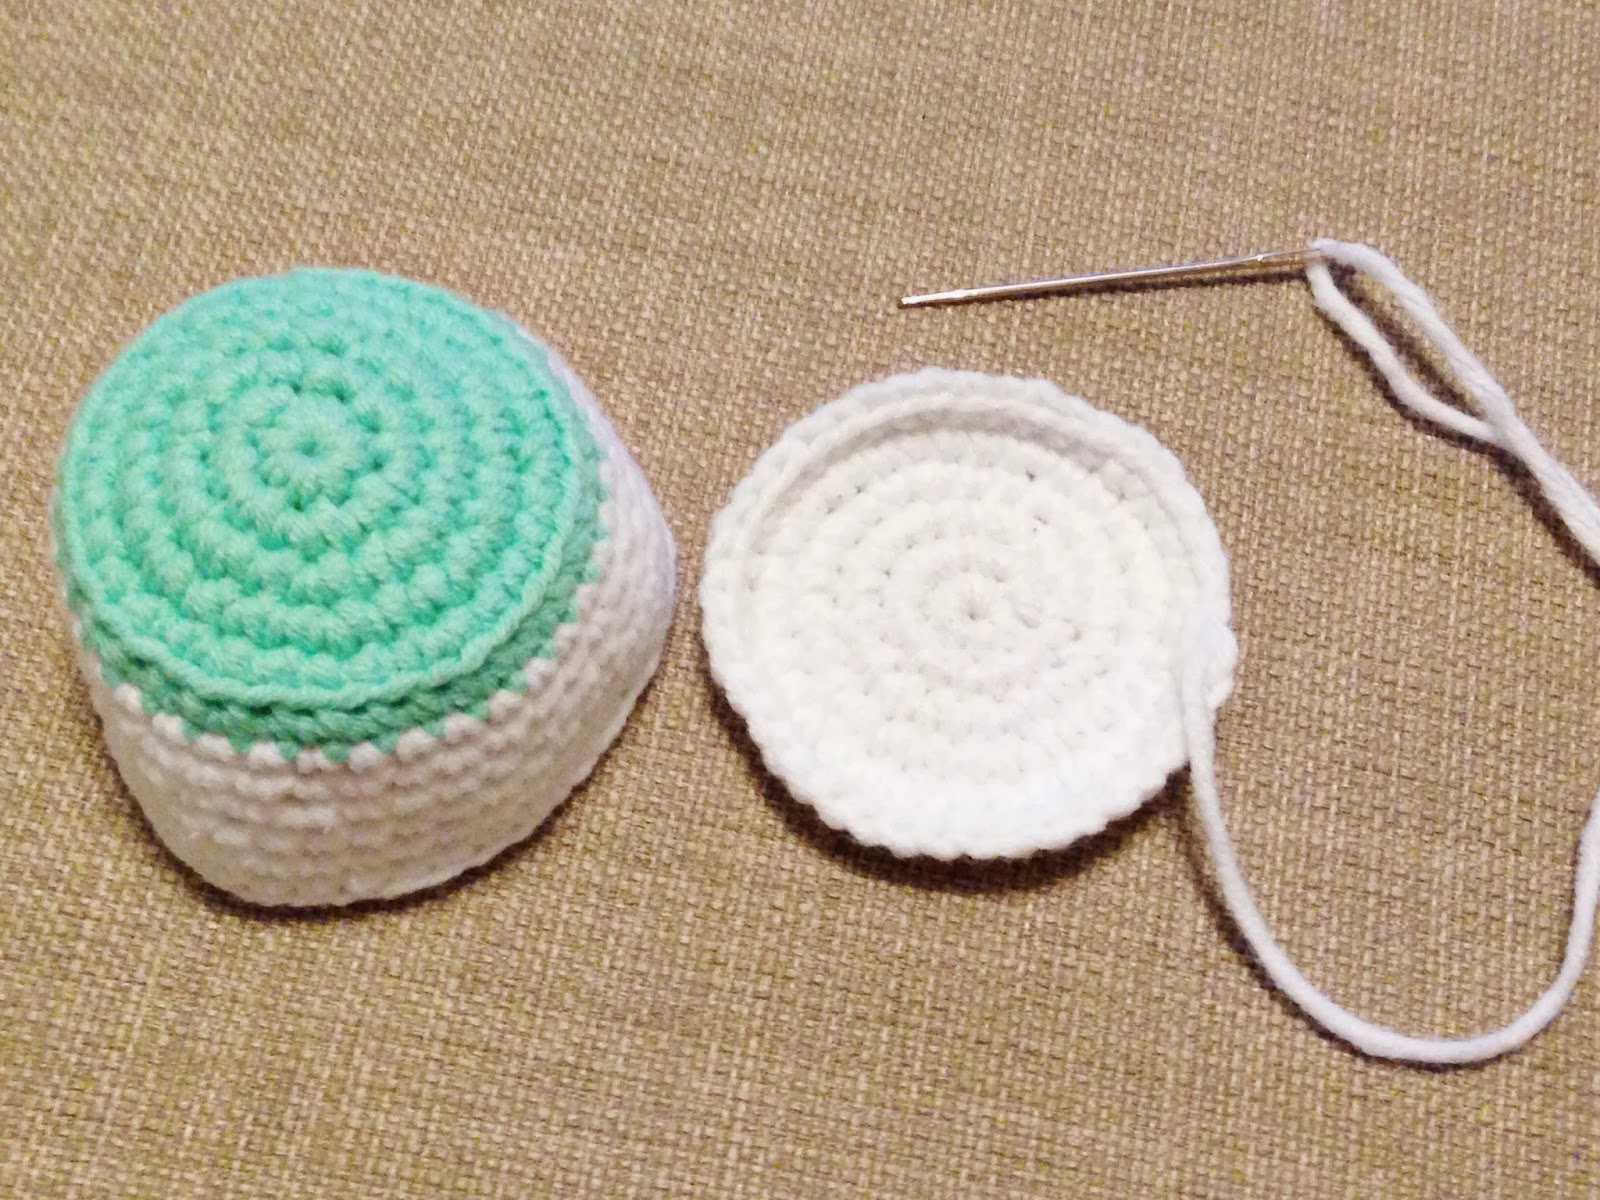
To stitch the base and the top together:
fasten off both pieces and leave long tail for either the top of the base of the pudding.

To stitch them neatly, just match each SC, stitch with yarn of the same colour. I am using green yarn here so that you could see clearly how I stitch two pieces together. Easy Peasy!

Insert polyfil when you have stitch 2/3 of the base. And continue stitching the remaining SC, then cut the excess yarn. Stitch the eyes and add fun expression >_<
Heart Applique

Start with ch 6,
then SC in the second ch from hook,
SC 3 tog,
in the same ch —> SC, 5 DC,
DC,
in the same ch —> 2DC, ch, 2DC,
DC,
in the same ch —> 6 DC, slip stitch and fasten off
For some of the stitches, refer here for tutorial:
SC 3 Tog - Single Crochet 3 together (i.e. decrease 2 stitches) (here)
Happy crocheting!
Remember to hashtag #happiescrappie & tag me @happiescrappie on instagram when you make something out of my pattern ;)

wow nice tutorial, sam. too bad i dont have any tools any material for it. just wondering how long did you spend to make one amigurumi like this...
ReplyDelete