EMBELLECE
TU ESCRITORIO
Buenos
días! Aquí María de nuevo ( https://instagram.com/mariacgbc/
)
Espero
que todo el mundo haya recibido su Kit del mes, porque es maravilloso!
Hace
unos días se me ocurrió qué podía hacer con uno de los dashboards del kit de
agosto (tema maquillaje) porque los colores me encantan y quería tenerlo a la
vista.
I
hope everyone has received their monthly kit, because it is wonderful!
A
few days ago it occurred to me what I could do with one of the dashboards of
August kit (makeup theme) because I love the colors and wanted to have it in
sight.

Como
la mayor parte del tiempo que paso en casa, lo hago frente al ordenador, me
dije, ¡una alfombrilla para el ratón! Y nada más sencillo, con un trozo de
corcho , cinta de doble cara, 10 minutos y el dashboard, ya estaba tenía listo.
(Edito: Finalmente he tenido que hacerme otra alfombrilla con el sobre del kit
de septiembre)
As most of the time I spend at home, I use the computer, I thought, a mouse pad! Nothing more simple, with a piece of cork, double sided tape, 10 minutes and the dashboard, and it was ready!. (Edit: Finally I had to make me another mouse pad with the September box)

Puse
la cinta de doble cara en el dashboard, lo coloqué encima del corcho y con unas
tijeras fui cortando el sobrante y ya estaba listo! Pensé en plastificarlo,
pero me gusta más el brillo que tiene, así que decidí dejarlo así.
I put the double sided tape on the dashboard, placed it over the cork and I cut with scissors surplus and it was done! I thought of laminating, but I like the brightness on the dashboard, so I decided to leave it.

Este
mes estoy muy muy ocupada, está siendo una pesadilla! He decidido pintar la
casa y tengo todas mis cosas amontonadas por todas partes, literalmente, estoy
deseando que acaben para poder volver a colocar todo en su sitio o me voy a
volver loca. (Está bien, ya estoy un poco loca…)
Cuando
recibí el Kit no me podía creer el buen estado en que venían todas las cosas, y
la caja es amor, no es verdad?? Ya tengo muchos planes para ellas, pero son tan
bonitas que quiero guardar cada kit en la suya, así que ya veremos!
This month I am very busy, it's been a nightmare! I decided to paint the house and I have all my stuff piled up everywhere, literally, I cannot wait to run out to replace everything or I'll go crazy. (Ok, I’m a Little crazy right now)
When I received the kit I could not believe how wonderful were all the goodies, and the box was lovely. Now I have many plans for them, but they are so beautiful that I want to save each kit in it, so we'll see!

El
insert para fauxdori me ha encantado (qué cosa no? Por dios, es todo tan
perfecto!) quería probar con rotuladores, acuarelas, lápices, etc… Así que
entre pintura y pintura (en casa), me ha dado a mi por pintar también ;)
El
papel lo aguanta todo, no se dobla, y por supuesto, no hace sombra por la otra
cara, estoy más que encantada.
I am falling in love with the fauxdori insert (who does not? OMG, it's so perfect!) I wanted to try markers, watercolors, pencils, etc ... So between painting and painting (at home), it has given me the idea to paint on the fauxdori insert ;)
The paper is perfect, it does not crease, and of course, no shadow on the other side of the pages, I am more than “happie” with it.

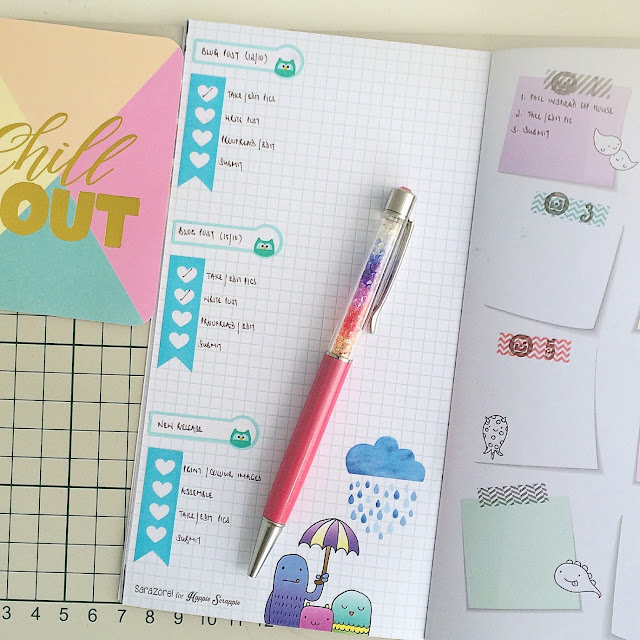
Con
los inserts, pegatinas, marca páginas, charm, he decorado mis agendas en el
mismo estilo que suelo usar y que es el que más me gusta <3
With inserts, stickers, bookmarks, charm, I have decorated my planners in the same style that I use and that is the one I like more <3


Al
calendario – taco de notas le estoy dando muchísimo uso! Para apuntar fechas
y para hacer la cuenta atrás de días que
espero con muchas ganas.
The calendar-note pad is so adorable, you can use it for so many things! To use as a event reminder and as a countdown of the days that I am looking forward to...
Y
tú, qué has creado con el kit de este mes? Nos encantaría que compartieses tus
ideas en el grupo de Facebook (Happie
Scrappie)
And you, what have you created with the kit this month? We'd love your ideas on Facebook group (Happie Scrappie)
O
en Instagram con el hashtag : #happiescrappieplannerkit
Or Instagram with the hashtag: #happiescrappieplannerkit
Besos
y abrazos
Maria
Xoxo
Maria
Things that I used in this blog post
 |
| Makeup Theme Inserts |
 |
| Makeup Dashboard |


 |
| Monsters Theme Stickers |
 |
| Monsters Dashboard |
 |
| Monsters Charms |