Hello! The Design Team girls on Elle's Studio gallery is going live today. Do drop by to check out the awesome projects by all the DT girls at the Design Team Gallery. I got my February a little late this month but I am in love with the kit as always. I am a sucker for all things valentines!
Click here to get your Elle's Studio February kit and the new collections - Everyday Moments, Good Times & Love You More.
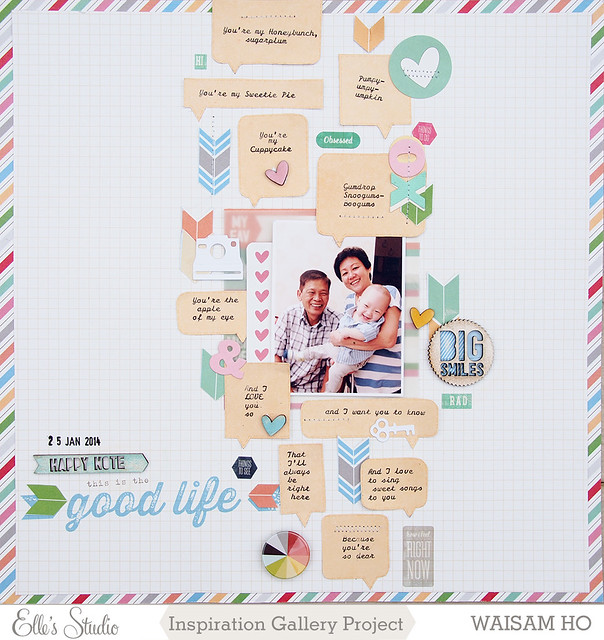
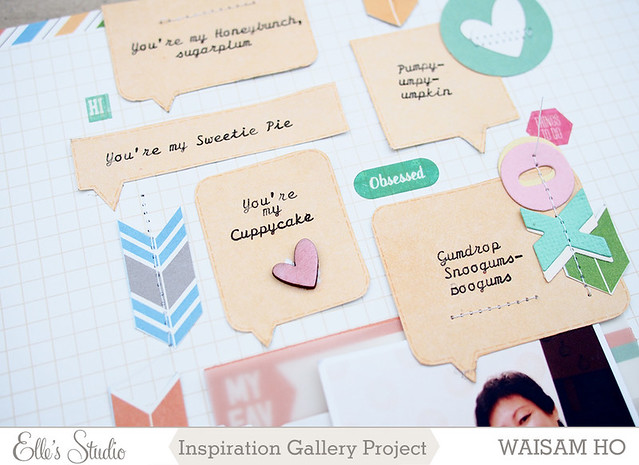
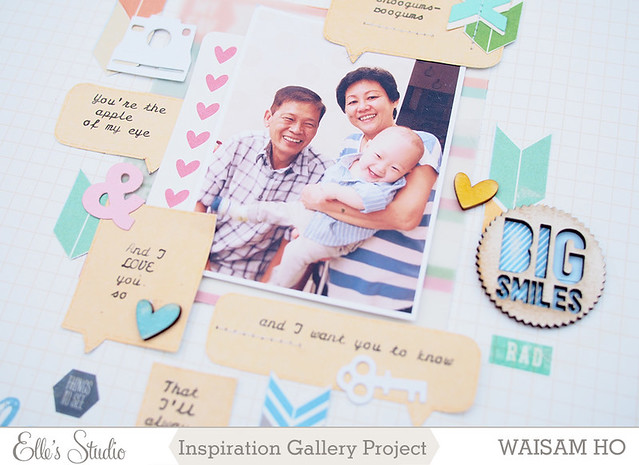
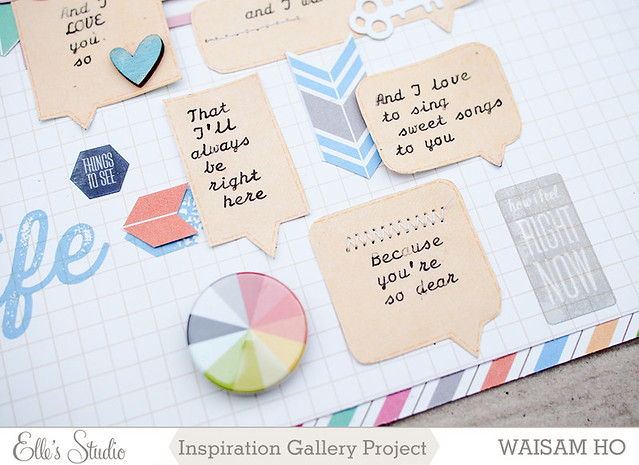
Today I am sharing two layouts that I made using the new collection - Everyday Moments. When I saw the yellow pattern paper (Say What?!) , I knew I want to fussy cut all the speech bubbles out and arrange them on a piece of patterned paper or white card stock. So as I was arranging the speech bubbles, I was thinking really hard what to write in order to fill up the speech bubbles. As you know, I don't journal much (or long sentences) on my layouts much, maybe I am just not confident with my ugly handwriting, maybe I feel that a picture is worth a thousand words. Then suddenly the 'You Are My Cuppycake' song struck me. So I started typing the lyrics of the song to the speech bubble using my vintage typewriter and this is how this layout out came about ;)
This is my current favourite layout and I have already hang it in the shadow box right after I photo'd it. I love how soft and airy the layout is, I love the script font on the speech bubbles, I love the colourful stripes border and I love how the speech bubbles arranged from top to bottom. And I also love how happy this photo is! I just love love love everything here ;)
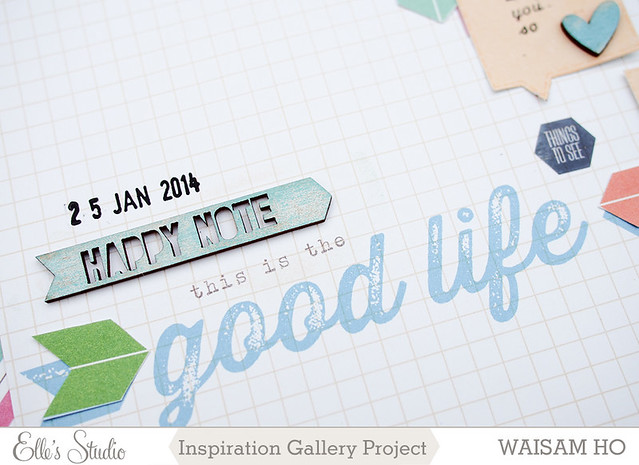
I added a few stamped sentiments in between the speech bubbles to fill up the gaps, added some machine stitching and wood veneer from Elle's Studio. The word XO, ampersand, keys and polaroid camera are die cut using My Favourite Things Die-namics and my eBosser ;)
I also ink the wood veneer 'Big Smile' with white chalk ink to soften the colour a little so that it would match with the layout better.
Just gotta love the script font from my Pink Olympia right? Love love love the navy blue stamped image 'Things To See' that I inked with Hero Arts Shadow Ink.
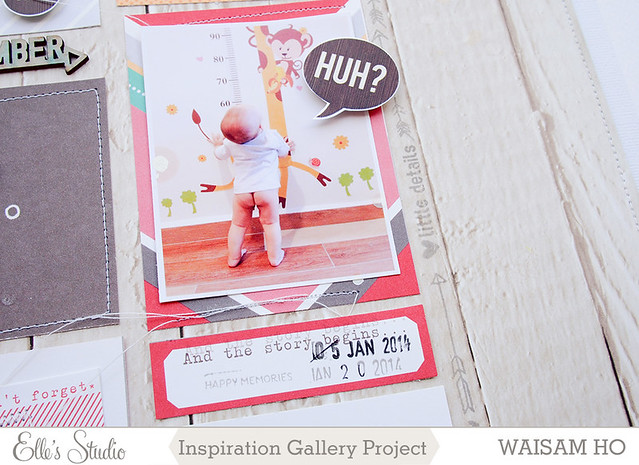
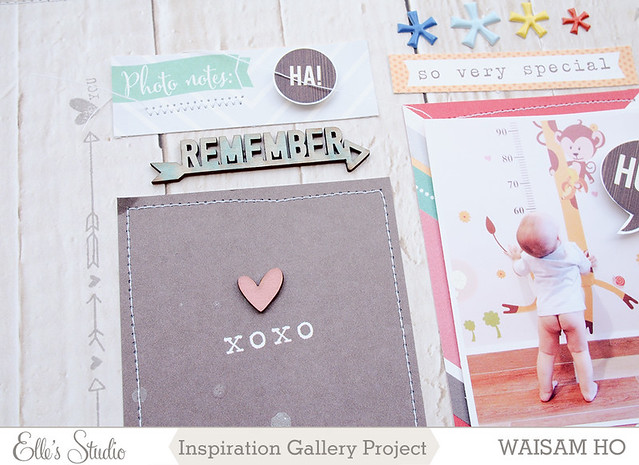
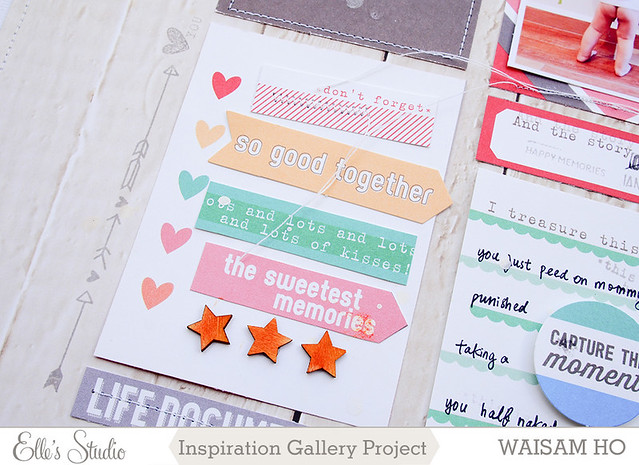
And Here's my second layout using Love You More collection. This photo of Ivan is so scrapworthy and I will definitely make a few more layouts using the same photo! This is actually a very simple layout that I just arrange two rows of Journalling Tags and Ivan's photo side-by side. Then add some journaling, Bits & Pieces and machine stitching to call it done.
The woodgrain 'HA!', 'HUH?' and asterisk stickers are from one of Studio Calico Project Life kit (sorry, can't remember which month though).
Stamp some hearts and arrows to create border for the journalling tags using Love You More stamp set and Versa Fine Smokey Grey ink. Used grey ink here so that it is more subtle and blends better with the background. I also cut up some bits and pieces to match the colour of the heart in the Journaling tags. I couldn't find anything suitable in orange, so I inked up the star wood veneer with Versacolor orange ink. I love using wood veneer because you can either use them as they are (in bare wood colour) or just alter the colour with ink or mist.
This photo is just too funny huh? I al sure he would go like 'HUH?' in the future when he sees this layout. p.s. I stamped the date wrongly, so i just cancelled it and rest amp again. ;) Told ya, I am a messy scrapper!
Alright… As I am drafting this blog post I thought I would just share two of my layouts that I madden for Elle's Studio this month. But as I typed, I just keep writing and writing plus adding list of supplies that I used for my pages. Be sure to check out the design team gallery for more inspiration!
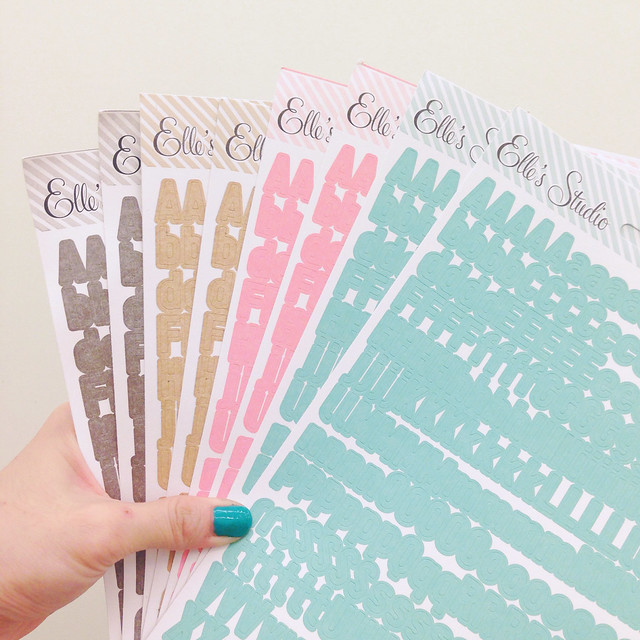
And lastly, remember I posted this on Instagram? Yes, you need at least two of each colour! Now go grab your supplies here.
XoXo


Wow - both layouts are really amazing!
ReplyDeleteWah! Love all your layouts :D So cute!
ReplyDelete