Showing posts with label fauxdori. Show all posts

Friday, October 2, 2015

All About my Little Monster


Hello again!

Today I’m excited to be showing you the completely adorable monster themed Happie Scrappie planner kit! 
If you know me, you know that I’m a fauxdori girl through and through and so I have the fauxdori kit goodies to show you today.

When Sam was designing the kit and I was designing the Limited Edition Confettidori to go along with it, we had no idea what the other was doing and so it was a very happy accident to see that we chose the same design for the interior of the Confettidori and the cover of the fauxdori insert! I love how completely happy and bright this Confetidori is when I open it!
This month Sam designed some acrylic key chain charms to go with the kits and they were a home run success in my opinion! They feel very expensive and well made, nice and heavy and the designs are so completely cute.  And I LOVE that she decided to add a gold chain to them.  Perfection!  Wish I had one of every design!
This kit reminds me so much of the little 2-year-old monster in my life so I decided to dedicate my fauxdori insert to my little monster.
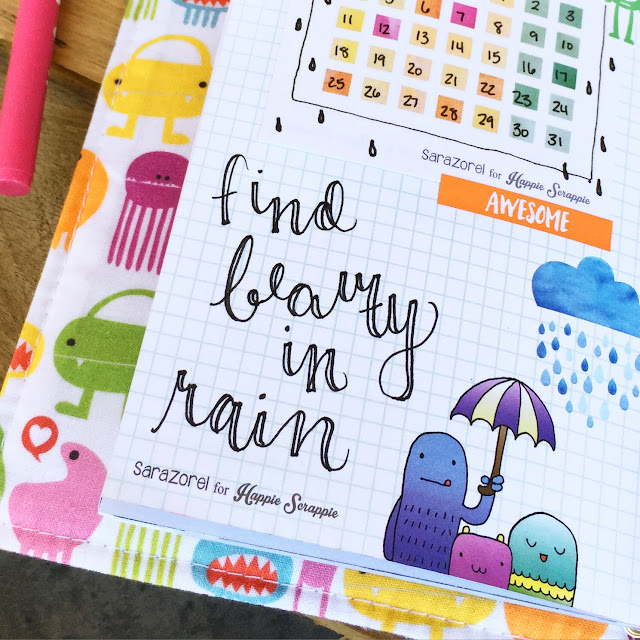
This fauxdori insert is absolutely to die for.  It is full of TONS of different styles of pages; listing pages, and coloring pages, and pages with little sticky notes, and pages with big squares to fill in and lined pages and grid pages.  Some of the pages are in color and some are in black and white.  I’m completely obsessed.
 
With so many different styles of pages it makes it easy to add a bit of your own flair and end up with a beautiful page you can be proud of. 
Sometimes when you have a fauxdori insert and all the pages are the same, it can be hard to come up with the creative spark to fill them all, but this insert with all of its random pages makes it so super easy to feel inspired!
I added a sheet from the little undated calendar notepad that came with the kit to track my water intake.  Since this insert will be more for my little monster, I may change that calendar out for one that tracks my daily journaling about him.
Another page in this insert I used for tracking some of the cute things that Wyatt has been saying and doing lately.  He is changing all the time; so I love that I can easily have a place to jot these little things down to help me remember how cute he was at this age! 
 
Thanks so much for reading this post!  I hope you feel inspired to pull out all of the cute bits from the kit and have some fun!! 

I’d love to see what you do with your insert!  Feel free to tag me if you post any pictures of what you create!

Till next time and with lots of love,
Teddi Confetti

Things that I used in this blog post.

Monday, August 3, 2015

Using Travel Notebook to Plan Vacation


Hello again, this is Lucy, also known as organisedlucy on Instagram. I can’t believe it is already August and it's time for vacation. I was so excited to receive Happie Scrappie planner kit this month. Everything is so cute and would work with any planner you have, but today I am going to show you how I use the travel notebook to plan my upcoming vacation. You may be wondering “why travel notebook and not other types of inserts”? The reason is pretty simple, I like to bring my happiedori when I travel due to the fact that it is durable and lightweight. Moreover, I can slot up to 3 travel notebooks inside it (one for travel schedule, one for brain dump and one extra notebook).

When you think of vacations, you tend to start dreaming of all the fun places to visit, the unique shopping places to go, the good food to indulge and in my case, friends that I am going to meet. I am very excited to go on this vacation because the main purpose of this trip is to attend my best friend’s wedding in Jakarta. However I usually get overwhelmed with all the lists of the things I need to do and to bring along for the vacation. Moreover, if you have ever been to Jakarta, you will know that Jakarta has the worst traffic, which is why it is even more important to plan everything ahead of time. The top of my list would be to satisfy my craving for Indonesian food and shop for my favorite local products.

Without further ado, let’s have a look at this month’s inserts. I love that this month’s travel notebook is blank as it provides so much versatility for how one can use it.


First, I started stamping on Happie Scappie stickers. I used the Studio L2E stamps sets to mark “PACKING LIST”, “SHOPPING”, “RESTAURANTS”, “DON’T FORGET”, “CARRY-ON” and “TO DO” on the Happie Scrappie Stickers. I adore this month stickers. These are beyond cute with the critters’ heads and the mushroom peeking from the corner of the stickers.


After that, all I needed to do is to paste the stickers on to the pages and I added the tiny dot stickers leftover from previous month planner kit to serve as the checklist.


With the lists done, I then planned my daily travelling schedule from Friday to Sunday,as I would be flying back to Singapore on Monday morning. I used the Brush Script stamp set from StudioL2E to stamp the day on Happie Scrappie Stickers. I then filled in my daily planned schedule. And it will be all done.


I find it very useful to record everything I need to do before my vacation as I tend to forget details if I don’t do it. And the best part is, all the planner supplies that I need come from the Happiescrappie planner kit. They totally add the touch of fun and colour to your planner.


I hope you find this post useful and happie planning everyone. See you next time.

Xoxo

Lucy


Products that I have used in this post.


Happie Scrappie Inserts
Metal Binder Clips
Happie Scrappie Travel Notebook

Happie Scrappie Tear Drop Stickers


Happie Scrappie Tiny Dots Stickers


Thursday, July 2, 2015

How I Use Fauxdori Inserts As My Social Media Planning


Hi Happie Planners, my name is Lucy (IG: @organisedlucy). I hope all of you are having such an awesome week so far. Today I am going to show you how I use the fauxdori inserts from HappieScrappie planner kit.


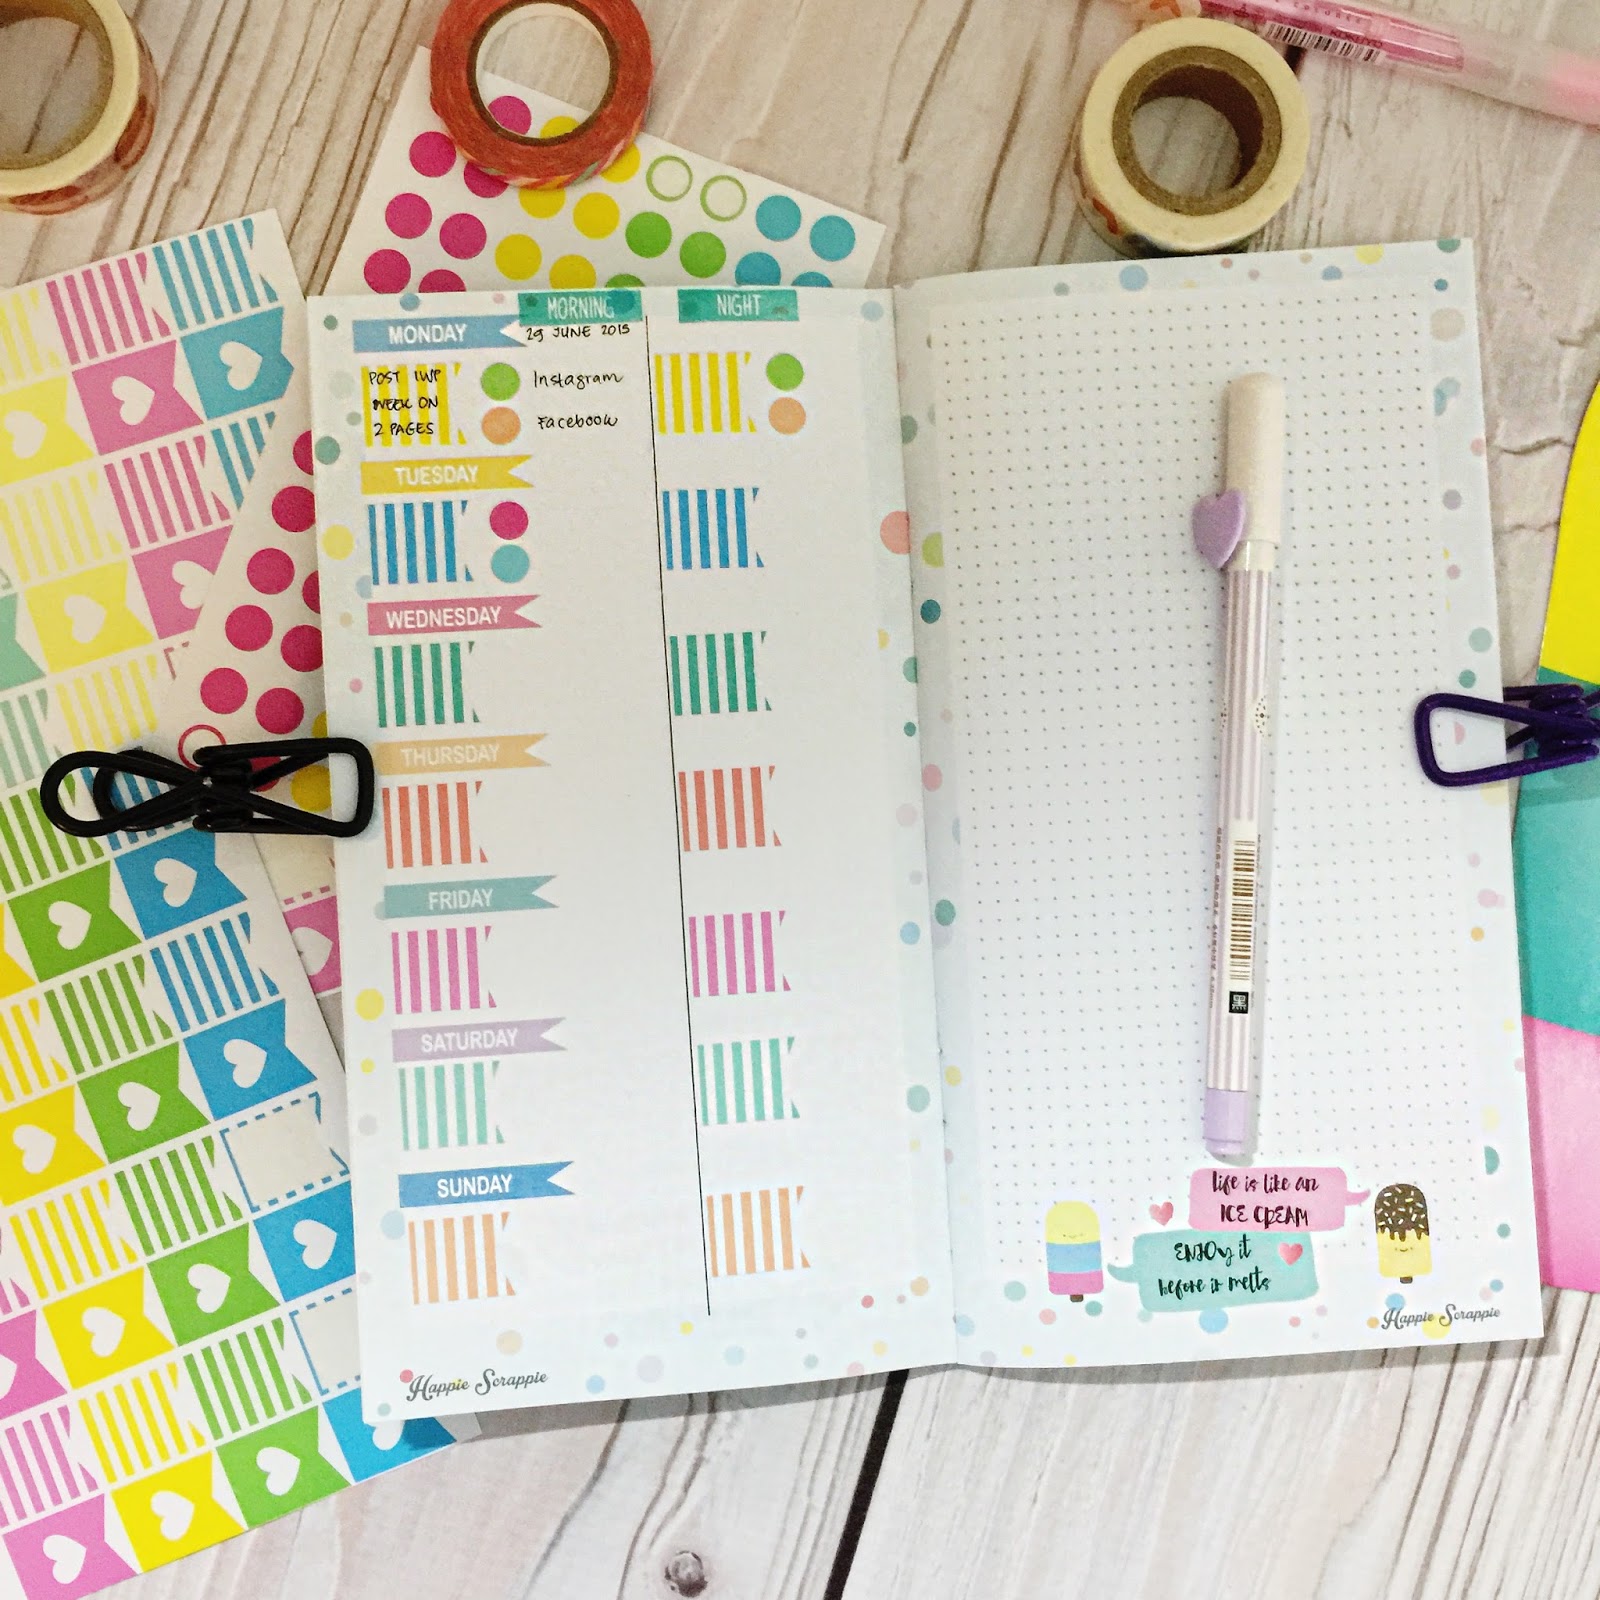
Starting this week I have decided to use the fauxdori inserts as my social media planning. My goal is to regularly post two pictures everyday into the social media, i.e. Facebook and Instagram, as I have the habit of not consistently posting pictures on social media in the past few weeks due to the commitment of daily work schedules. 

To start the processes, I decided to draw a line on the fauxdori inserts to separate between "Morning" and "Night" because I will post one picture during morning and another one in the evening.

You know that I always love bright and pastel colors, so when I received my fauxdori inserts, I instantly fell in love it, as it is very colorful, pretty and cute. However I decided to add more ingredients to spice up the inserts. So I decided to add the banner stickers and mini dots stickers. I wrote the daily posting idea on the banner stickers and I used the mini dot stickers to serve as the checklist boxes. 


For the notes page, I like to decorate it with some stamping. I chose Kellie Stamps (TODAY Collection). I decided to stamp on HappieScrappie Notepad and paste it on the notes page. I love that the June kit's notepad has a watercolor background which compliment the fauxdori inserts really well. 


Lastly it won't be complete without putting some final touches on the first page. I decided to incorporate the journaling card to serve as a positive reminder and the doodled heart and banner stickers that came with the planner kit as decoration.


I hope all of you enjoy my first blog contribution. Happy Fourth of July to those who celebrate and Happy Weekend to all of you.
XOXO
Lucy

PS: For more happie planning, do follow my instagram @organisedlucy if you have not done that :)

Happie Scrappie Products that I use

Happie Scrappie Planner Kit
Happie Scrappie Journal Cards
Happiedori

Friday, February 13, 2015

Planners | How To Decorate Midori / Fauxdori Notebook


Hello everyone! Today I am sharing this over at Freckled Fawn blog on how I decorate inserts / notebooks for Midori Traveller's Notebook (in short TN) / Fauxdori. The original Midori TN inserts always come in kraft colour cover which pretty much beg you to decorate and personalise it. You can also decorate your favourite Moleskin notebooks or Field Note using the same method. I am someone who can't live without rainbow, so I decorated all my midori / fauxdori inserts with patterned papers, washi tapes, stickers and stamps.


So now, let's grab some of your favourite washi tapes, patterned papers, stamps and stickers and decorate your notebooks with me. Decorating the notebooks can be really therapeutic and easy - would not take you more than 10 minutes for each book ;)

1) Decorate with washi tapes.


You can choose to cover the cover partially or in full, with tonnes and tonnes of washi tapes. Here's what I have done with mine. The one on the left is decorated with MT masking tapes and Freckled Fawn washi tapes. Part of the kraft cover peek out and make the pastel colour washi tapes pop. I also added some epoxy stickers and letter stickers to make it even more personalised as this is my pregnancy journal ;)


The other two notebooks are of smaller size - same size as Filofax personal sized inserts. The one for my 'SHOP' I cover it up with pastel skinny washi tapes (you can get it here) in stripes. Added a piece of star-shaped sticky notes to put down the letter sticker 'SHOP'. The one with camera - I just cover the cover with 3 different rolls of washi tapes - randomly, then stamp the camera stamp with Staz On black ink.

2) Cover it up with patterned papers


This is probably the quickest and easiest way to cover up the kraft cover. I cut the patterned papers down to the size of the cover (a little bigger than the cover to get complete coverage) and stick it to the cover with tape glue / glue stick.


I also like to add wood veneers / stamps to the simple cover. This would only take me 5 mins to decorate each notebook.

 3) Decorate with stamp


I love the contrast between kraft cover and colourful stamped image. I stamp the heart stamps over and over again using Freckled Fawn February Oh Deer Me kit with Versacolors. I like that it actually looks like a piece of patterned paper. The other one I just stamp with a stamp set from Amy Tangerine that say Happy Place and I added my hand writing 'to brain dump' as my brain dump journal.


4. Stitch your stamp ;P


This is one of the cutest and unique way to decorate your notebook cover. You can just stamp the image using a lighter colour ink pad (say grey colour) and poke holes, add the stitching with embroidery thread. I am using Moleskin Cahier for the photo above. I have a detailed step-by-step tutorial that I written back in May 2014. I hate sewing and stitching, but I did have fun personalising my own notebooks with embroidery.

So these are the ways I use to decorate my notebooks and particularly, inserts for my fauxdori / Midori. Which one is your favourite?

Thanks for dropping by and I hope this post would inspire you to start customising your own notebooks.

Xoxo,
Sam

Tuesday, September 30, 2014

Freebies | Happy October & Printables for Your Filofax / Midori Traveler's Notebook

Hello Hello there! I am just gonna write a quick blog post before I get ready to send Ivan to his pre-Montessori. Today is the 2nd day of his school and I am praying hard that he could learn to have fun on his own without me being around. I stayed around throughout the play group session during the first day as he was having the usual toddler's separation anxiety. Ok, cut this short, my awesome friend  @abshanghai (Arlyna) made these A5 sized Filofax printables for me because I want to switch most of the stuff to my A5 sized this month. So I wave goodbye to my DIY Fish printables this month and let's see how it goes without it.


Instead of using these printables from Arlyna on my A5 sized 6 rings binder, I made them into a book and use in my A5 sized Fauxdori. I will post up a blog post on how to pamphlet stitch or stapler this printables for your Midori Traveler's Notebook  / Happiedori / Fauxdori. Stay tuned!


This is the free printables that Arlyna designed for September & October for my Happiedori. I am using them to keep track of Ivan's schedule. [Scroll down for the links to printables]


And here's the sneak of me getting ready to stitch and decorate my notebook. Will be blogging them on the 6th of October. 

You can download the Printables here:
A5 sized - October 2014
Personal Sized Printables (From Arlyna's Website)


And  free Printables for Midori Traveler's Notebook that I have blogged in this post:
September 2014
October 2014

Drop me a comment and let me know what you think of these printables / show me links of how you use them! And also, let me know what do you like so I could bug Arlyna to design and share more freebies with us! 


XoXo,
sam-sig


Sunday, September 21, 2014

Freebies⎪Happiedori & Free Printables for Midori Traveler's Notebook


Hello =) How was your weekend? I have a fairly productive weekend that I went shopping for a few hours, alone. Yes, I truly enjoy shopping alone because I would be able to make decision whether to buy/ not to buy the stuff on my own (without consulting others opinion) quicker and easier. Lol. I am more indecisive when I have friends or hubs tag along with me. 

My awesome cousin-in-law bought this cute Kate Spade bag for my big 30 =) She said this bag has my name written all over so it is a must to get for me. I am so blessed and love how the huge bow pattern on the bag matches the Kate Space gold clips perfectly.


I went to Kikki K to grab some stationeries, went to Typo to get some pens and Made With Love to grab some scrapbooking supplies. Its been two months since I shop for scrapbooking supplies and even my hubs said I should go shop for some new arrivals. lol. I also got to meet up with my girlies for quick lunch. Nothing beats having some me-time and being away from work (and baby) once in a while. After being a mommy for 18 months, I do love spending time with my toddler who never fails to amaze me, I also need a tiny bit of me-time once in a while.


Here's a pic to show some of the goodies I got over the weekends - gifts from girlies and a bit of my shopping haul. I actually have more, was too lazy to take photo of everything ;P


I recently obsessed with Midori Traveler's Notebook and also love making my own version of Fauxdori (i.e. Happiedori). I have been making a bunch of these for friends and also custom orders. I seriously couldn't believe that I actually made over 100 of Happiedori (together with my dad) within 3 weeks time. YEs, and yes, every Happiedori that you guys & girls ordered are handmade with love by me & my dad ;) And I also love the unique color combination that the customers picked that never failed to inspire me.


Here's the close-up of the cute little heart charm that I included in all the Happiedori that I made. Me and my mother-in-law found this cute charms from a shop in Petaling Street. 


Just a random notebook that I found on my dad's work desk and that reminds me that - my #stationeryaddict actually came from my lovely dad. He always like to go to stationery shop or book store to pick up really good quality pen and pencils, and always carry a little notebook with him to jot down his sketch and ideas. He is a carpenter and does some interior design sketching for customers too. And I am so proud of my dad because he self-learn how to draw interior design sketch + KDMax software on his own. He is currently using a Mark's notebook that I gave my mum and took over by dad to use as his daily notebook.


To thank everyone who has been so supportive towards my little shop, and to celebrate my 17000 Instagram followers milestone, I have a free printable to share with you here. Before you download the printables, please leave some love for my lovely IG friend @abshanghai (Arlyna) or her website to download the cute printables for personal sized planners. She is the one who designs and share this Midori Traveler's Notebook (regular sized) printables for free. Drop me a comment and let me know what you think of these printables / show me links of how you use them!

Free Printables for Midori Traveler's Notebook:
September 2014
October 2014

>> All you need to do is to print this front and back, cut off the excess on both sides, fold into half and bind them with staplers or rubber band. Easy PEasy!
I will try to make a tutorial / video to show you how to bind the printables soon. Hopefully it will not take me more than a week to blog about this =P

P.S. Do remember to drop by my little shop to see the new planners that are available for preorders now ;)


And this is a multipurpose stationery pouch that you can use to as pen case to keep all your stationery supplies on the go, or use it as travel wallet to keep your passports, ticket stubs and receipts, and it also fits the Hobonichi Techo in A6 sized perfectly! Go grab it here >> 


Happy planning!

XoXo,
Sam